
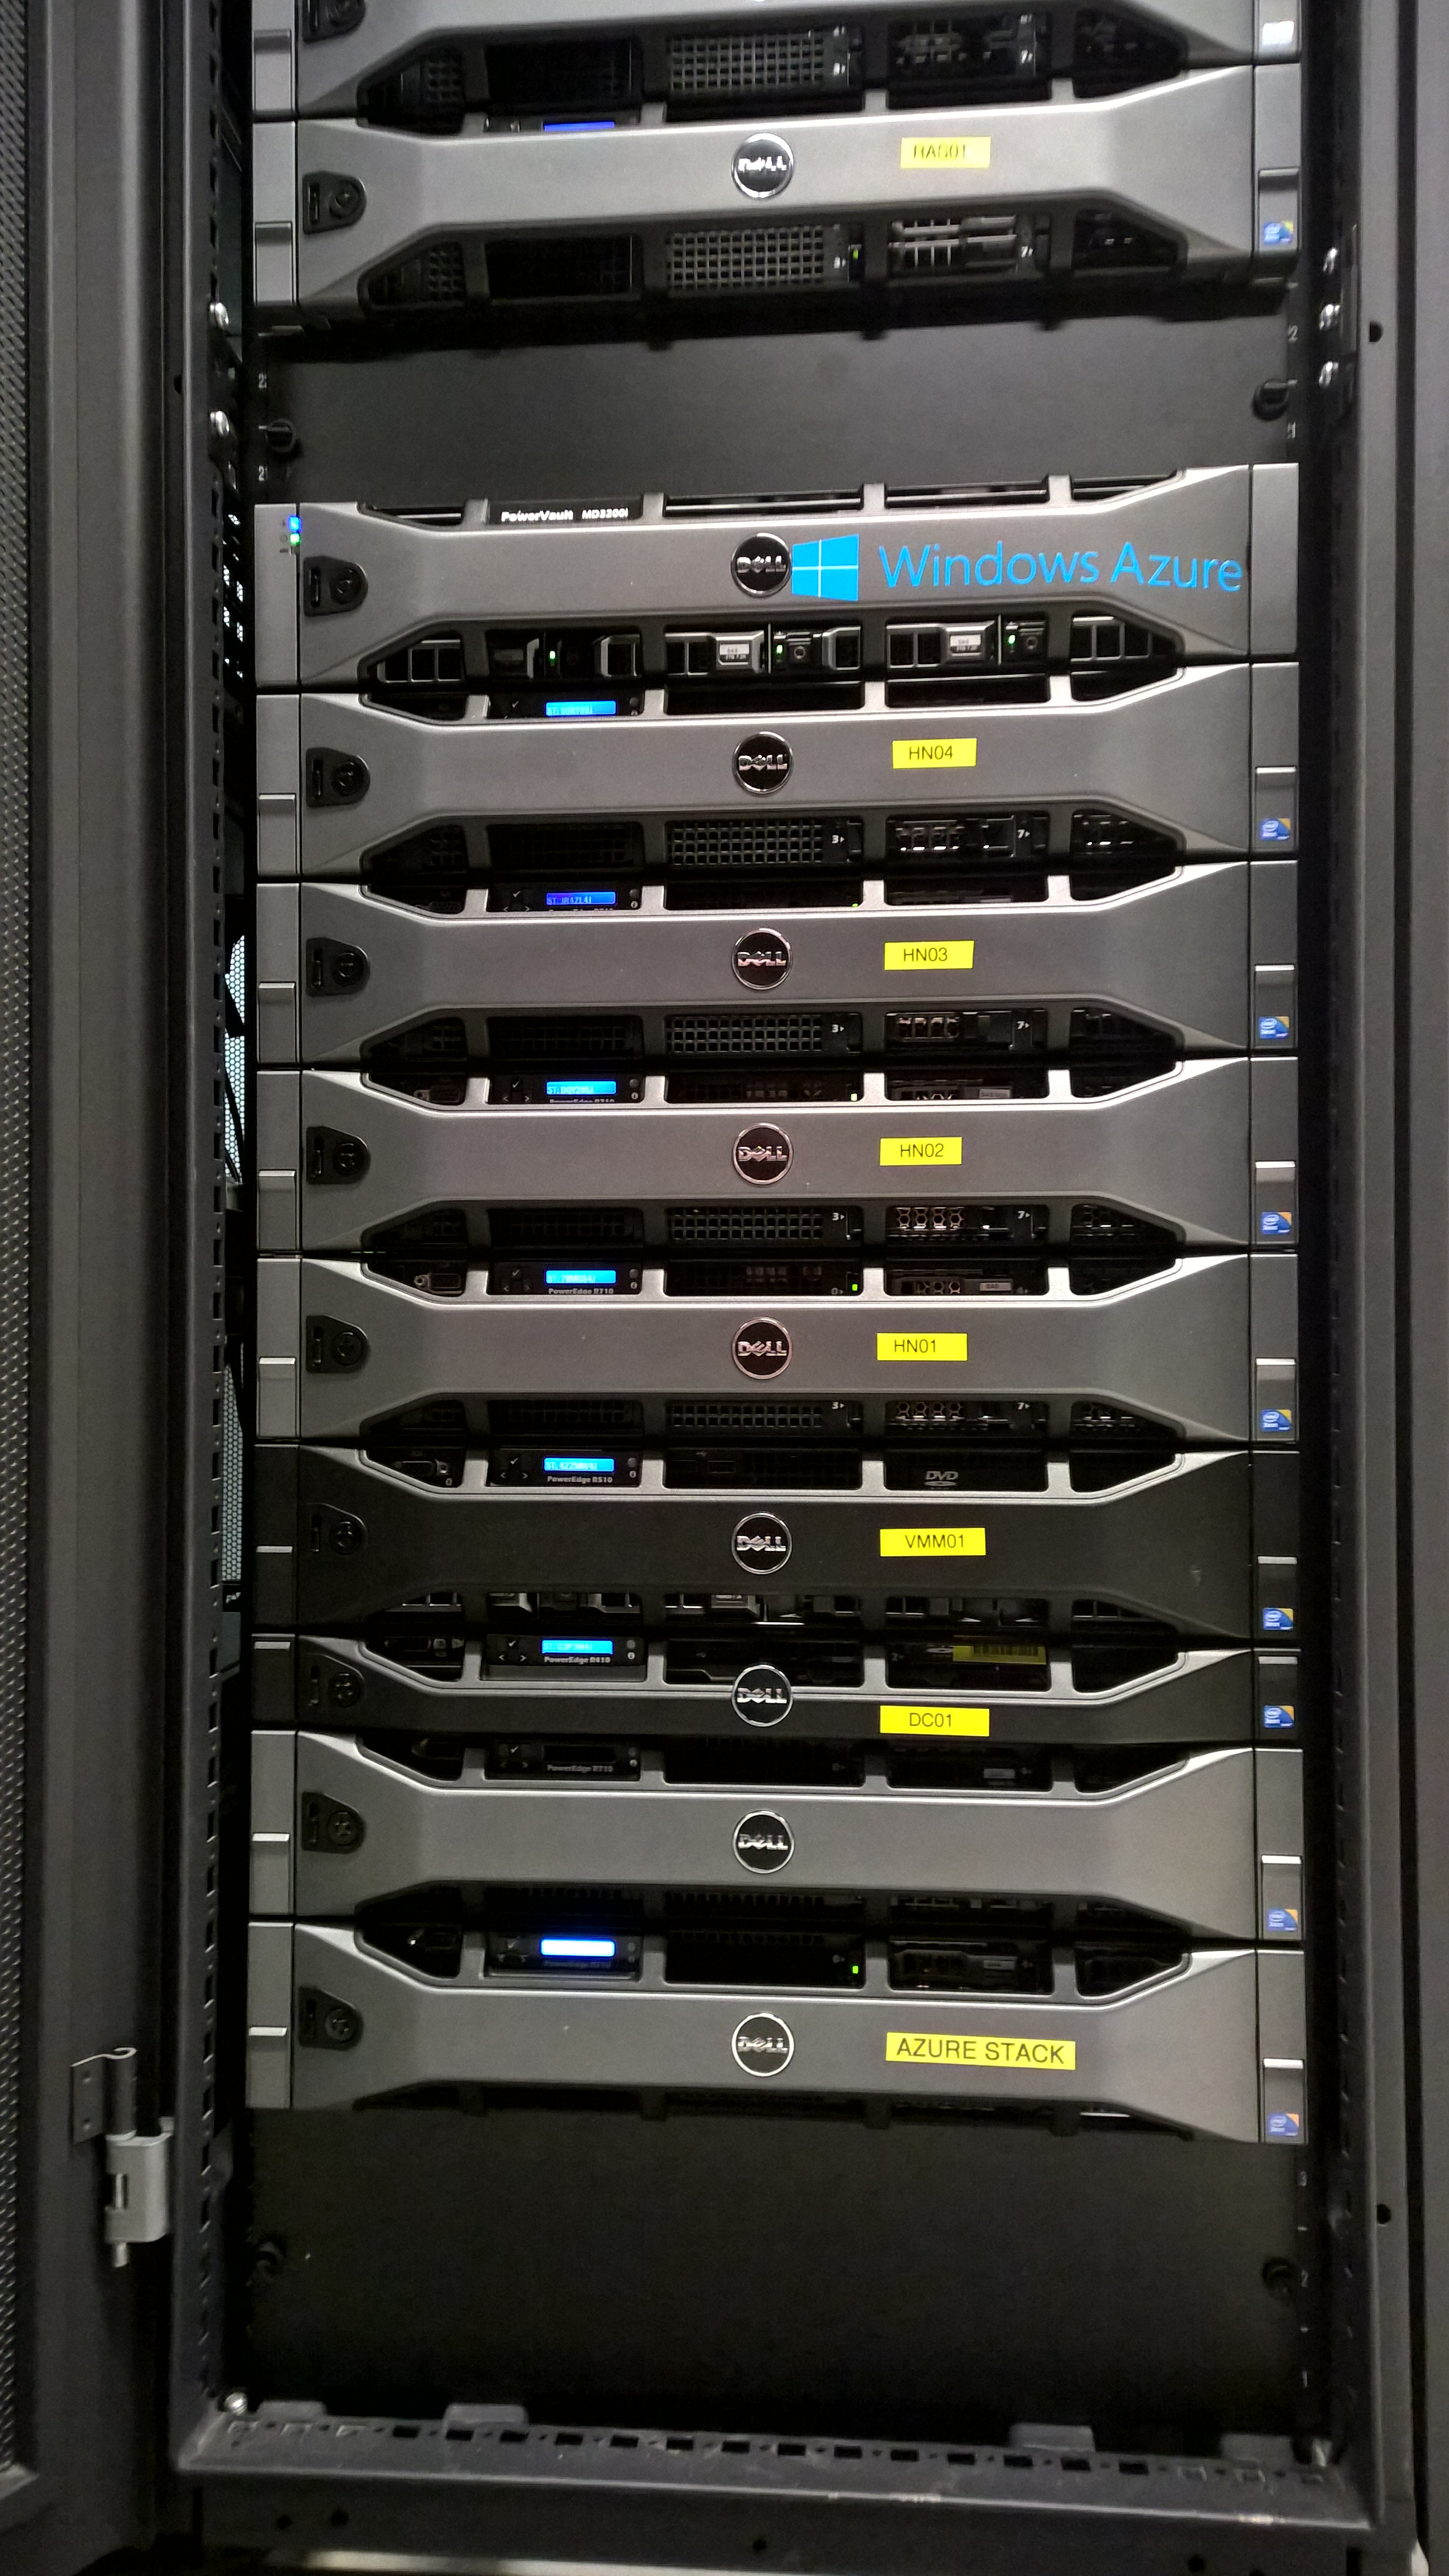
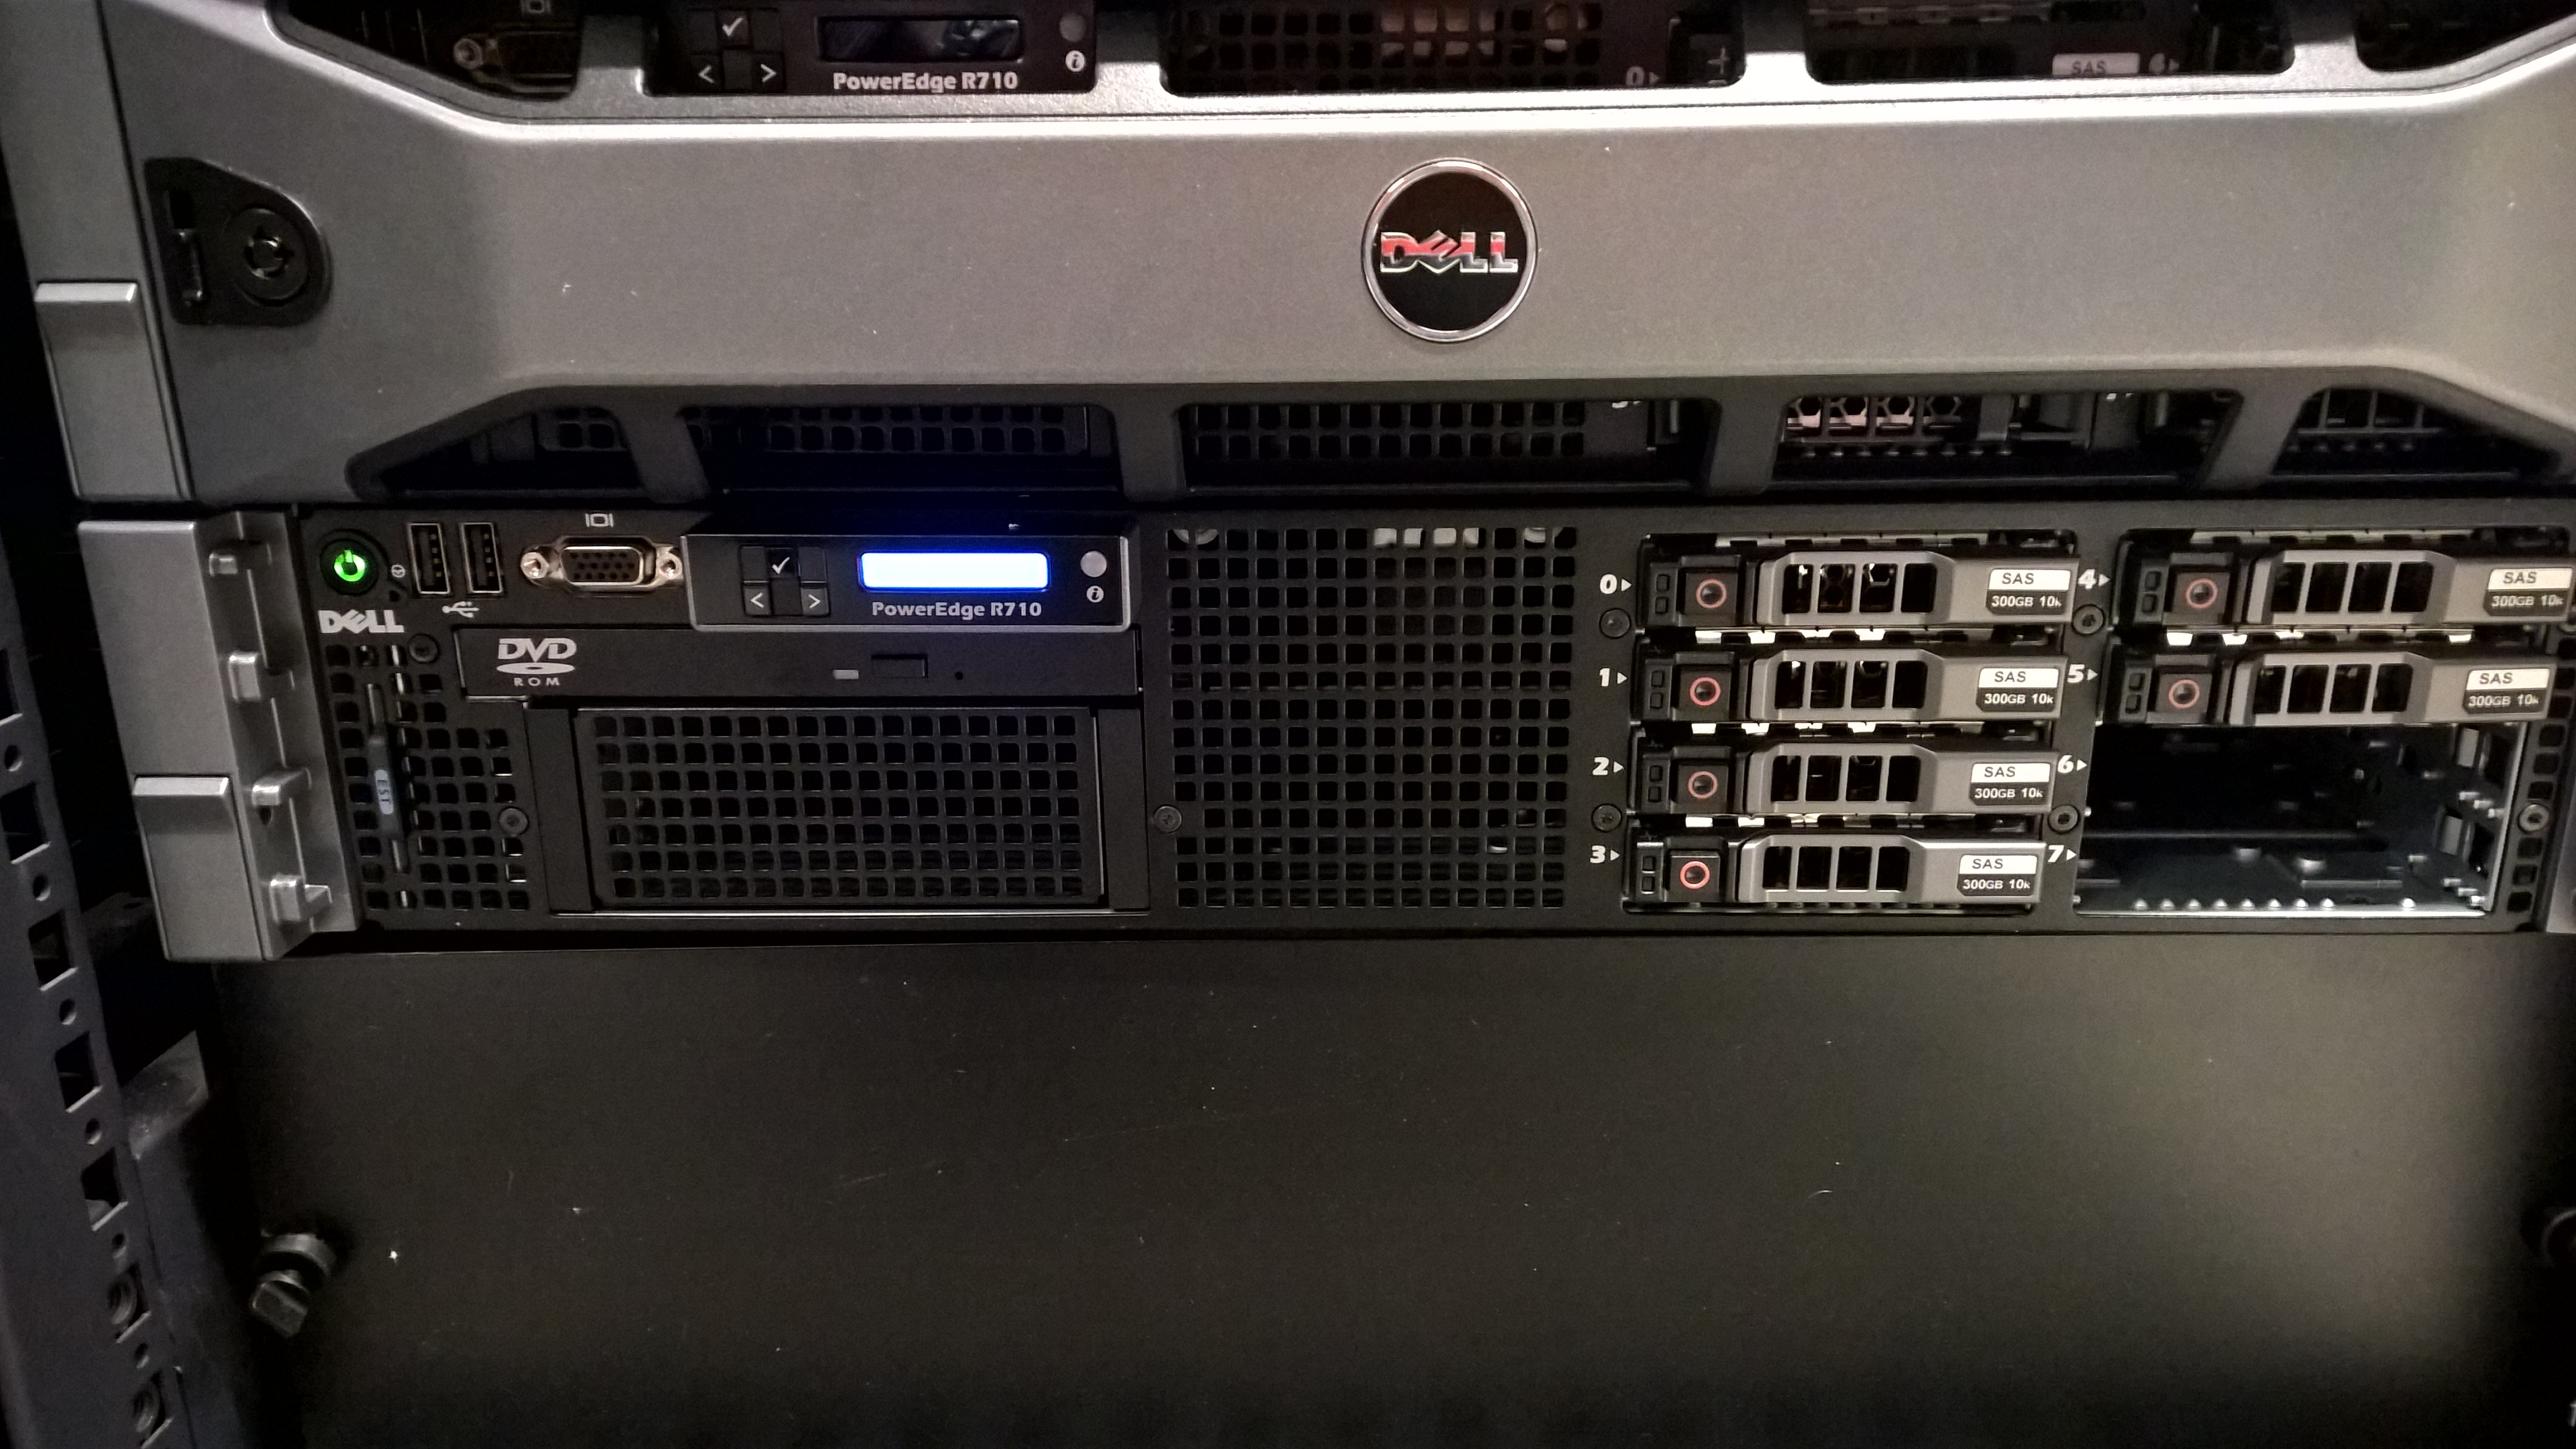
This is the Dell PowerEdge R710 Azure Stack Single POC Server
Now we have installed Microsoft Azure Stack on a Single Server in part 1 we are ready to create Plans, Offers and
create a Virtual Machine on your own Azure Stack Cloud Services 🙂
First we Create a plan in Azure Stack
Sign in as a service administrator and create a plan that includes the compute, network, and storage resource providers. This will give subscribers to the plan the ability to provision virtual machines.
- In an internet browser, navigate to https://portal.azurestack.local.
- Sign into the Azure Stack Portal as a service administrator and enter your service administrator credentials (this is the account created during step 5 of the Run the PowerShell script section in part 1), and then click Sign in.
Service administrators can create offers and plans, and manage users.
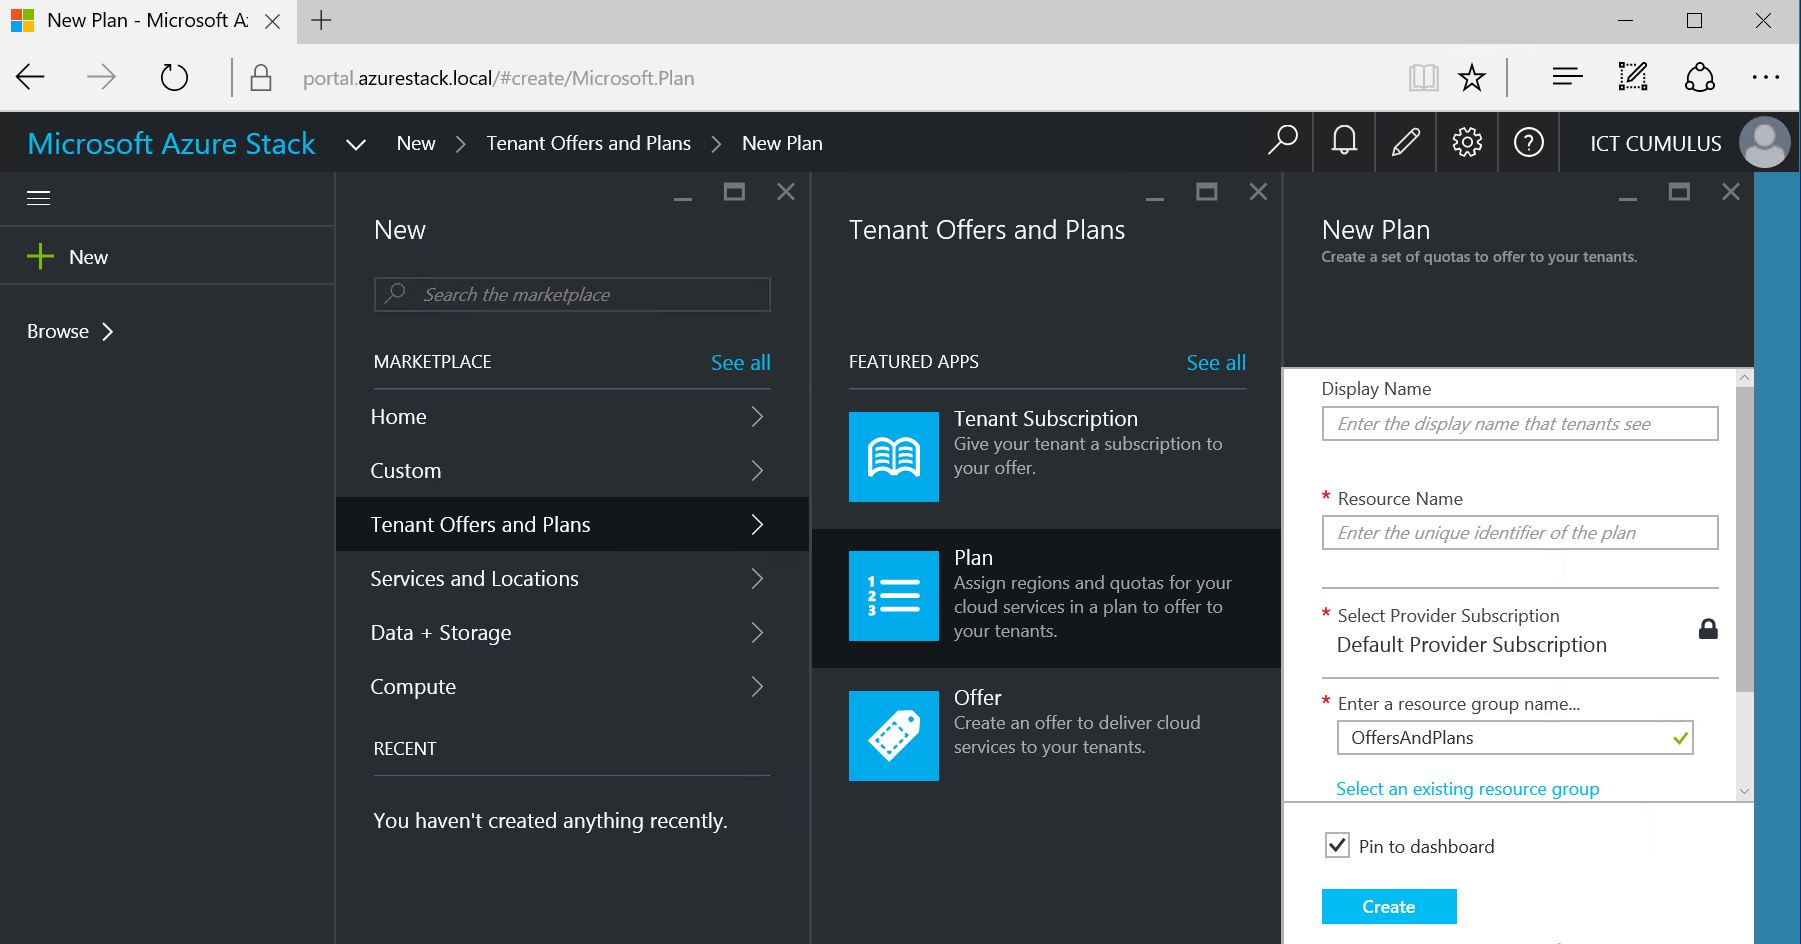
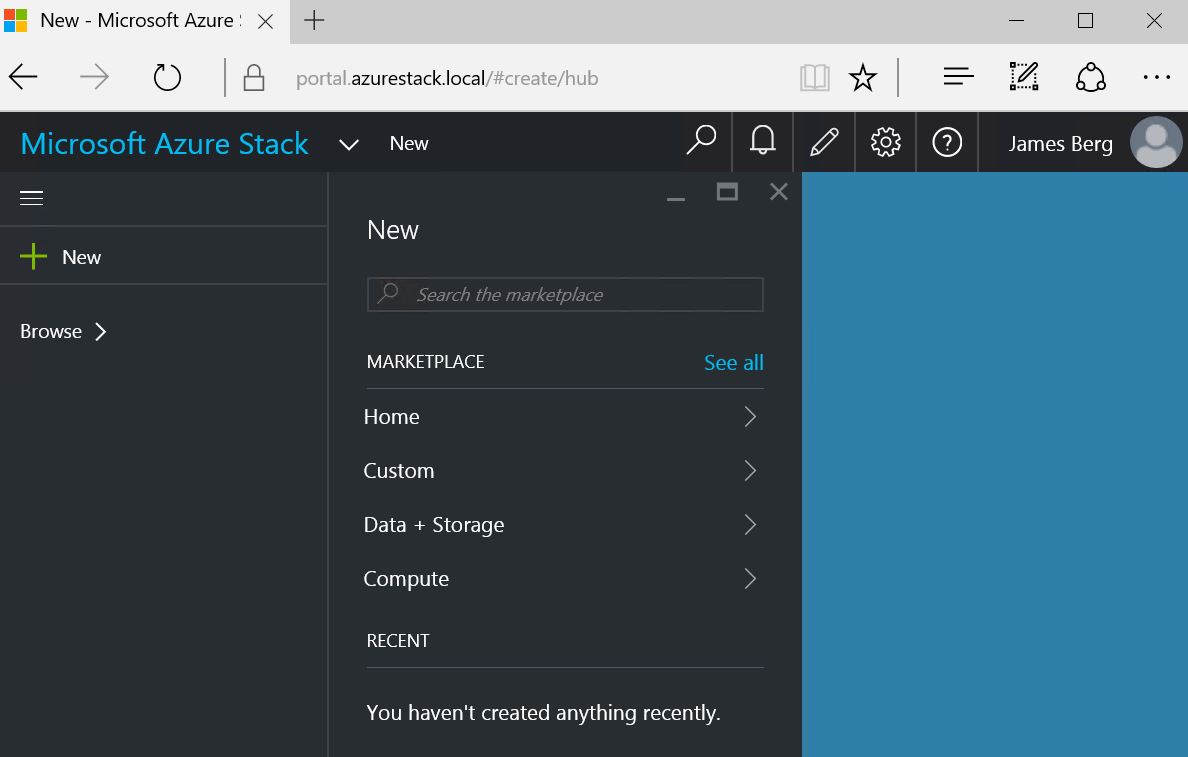
- To create a plan and offer that tenants can subscribe to, click New.

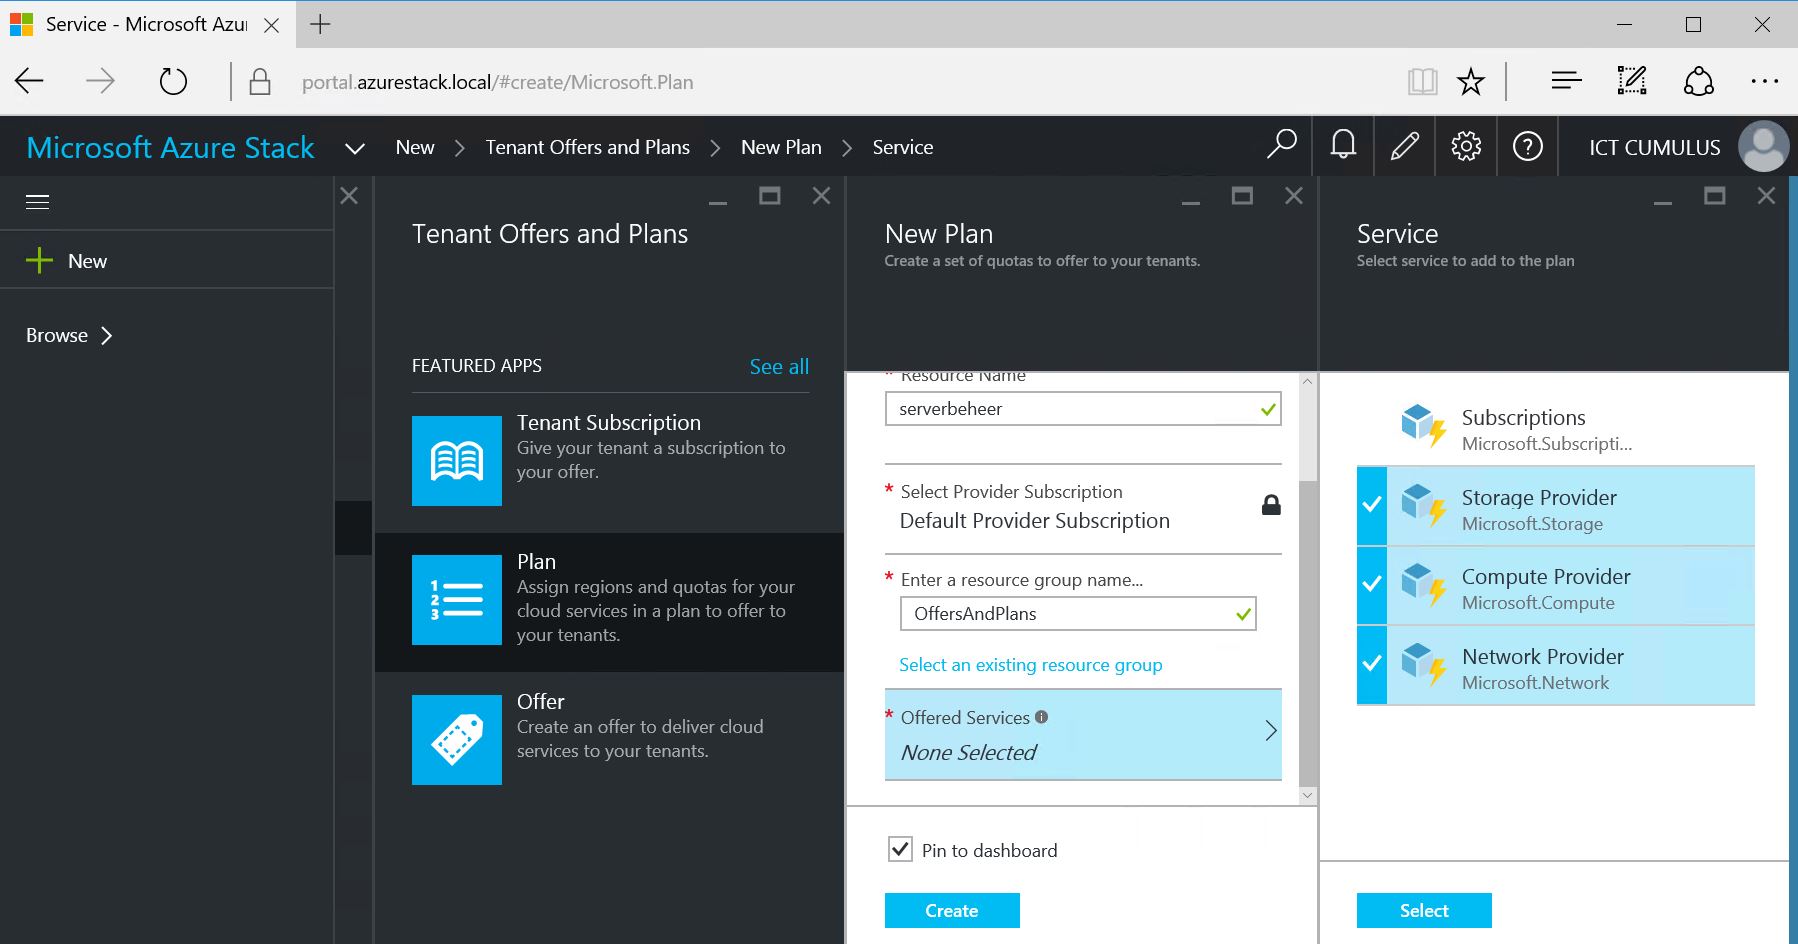
In the Create blade, click Tenant Offers and Plans, and then click Plan.
- Fill in Display Name and Resource Name. The Display Name is the plan’s friendly name. Only the admin can see the Resource Name. It’s the name that admins use to work with the plan as an Azure Resource Manager resource.

- Select or create a new Resource Group as a container for the plan. By default, all plans and offers will go into a resource group called OffersAndPlans.
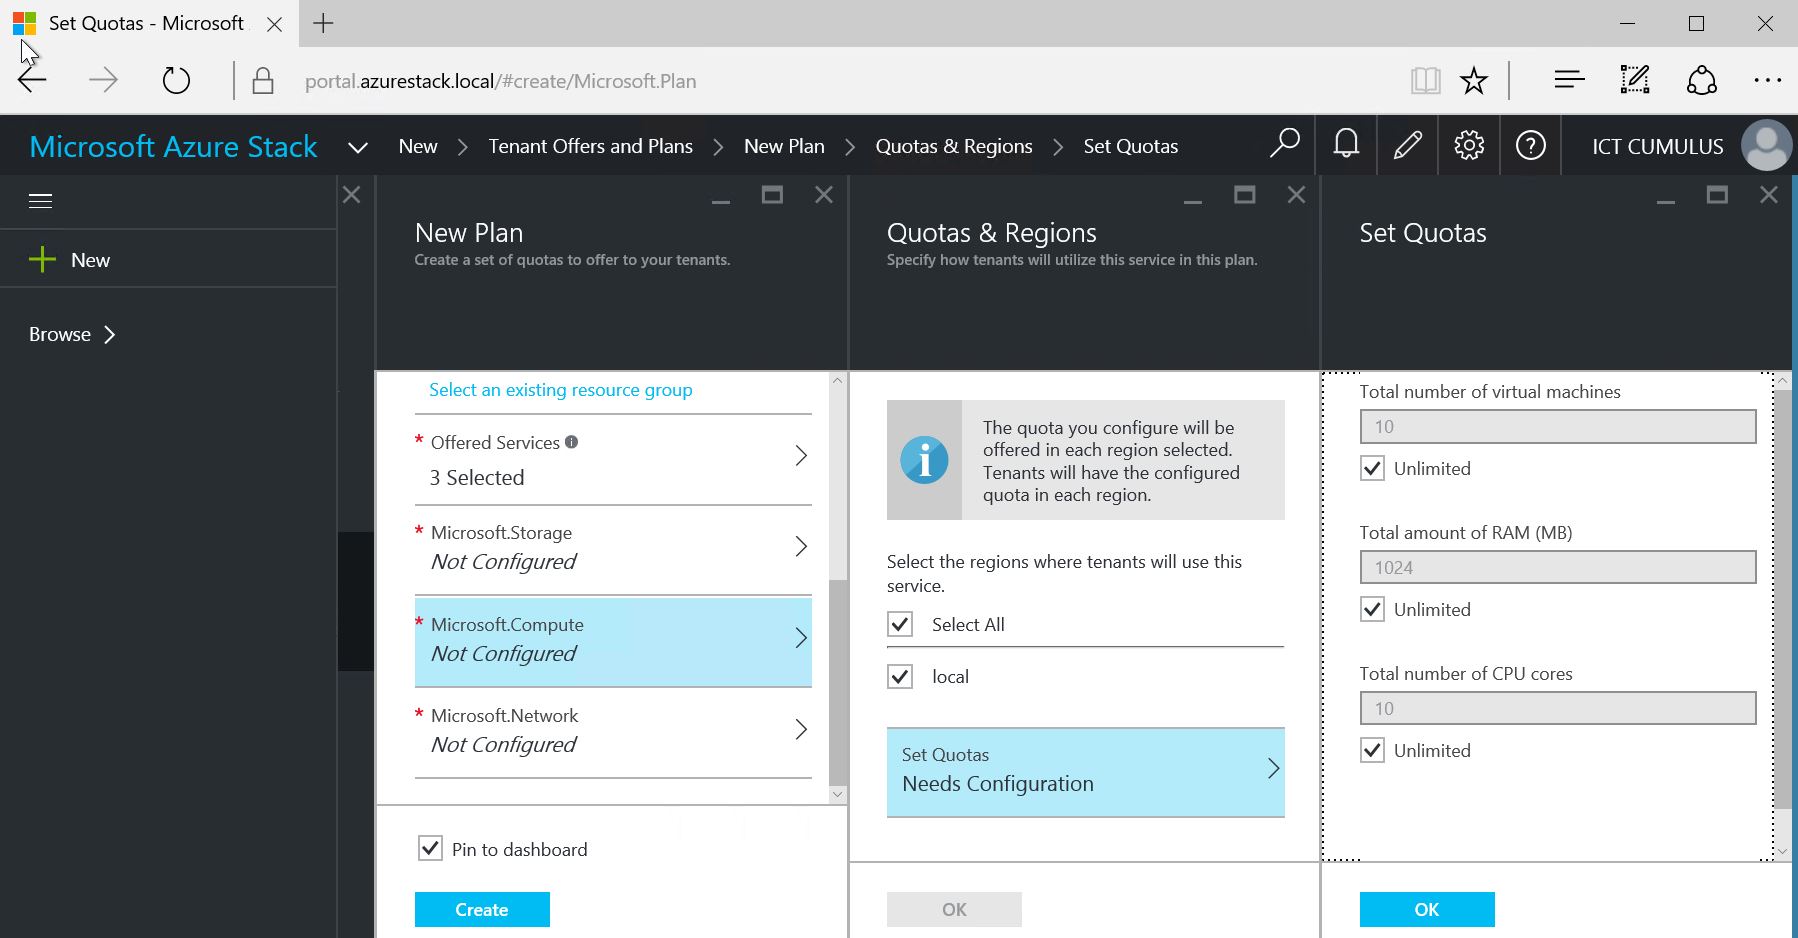
- Click Offered Services, use the Shift key to multi-select all three providers (Compute Provider, Storage Provider, and Network Provider) and then click Select.

- Click Compute, and then click Needs Configuration.
- In the Set Quotas blade, accept all the defaults, click OK, and then click OK
- Do the Same with Microsoft Storage Not Configured and with Microsoft Network Not Configured

- Click on Create to make the Azure Stack Plan.

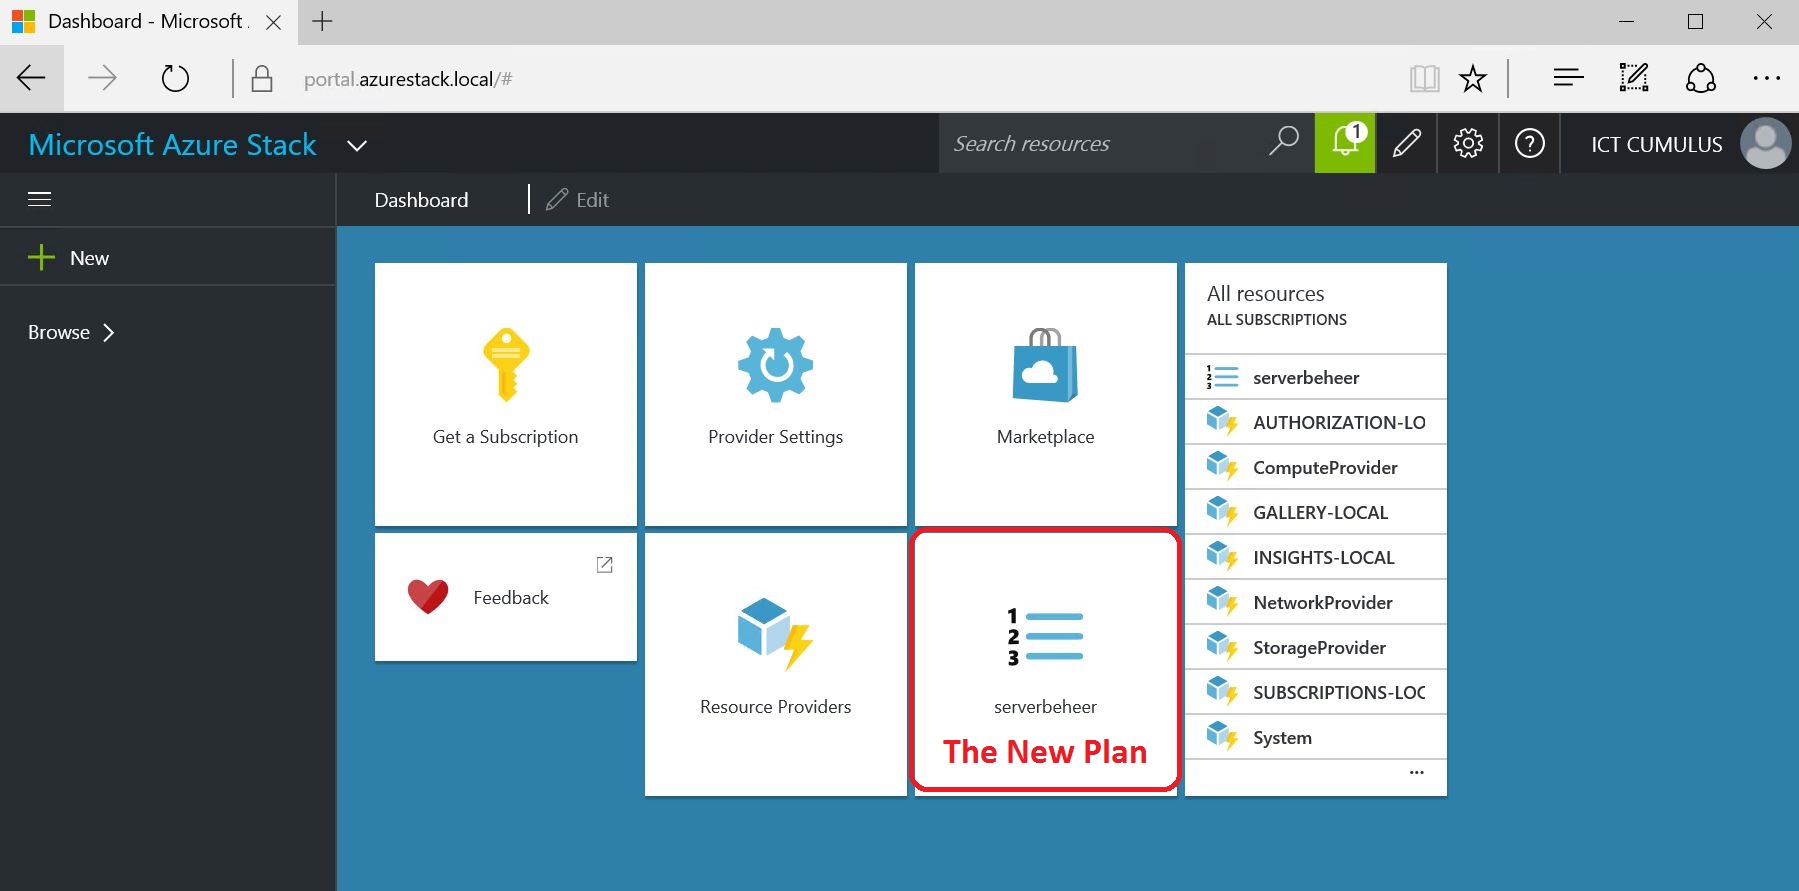
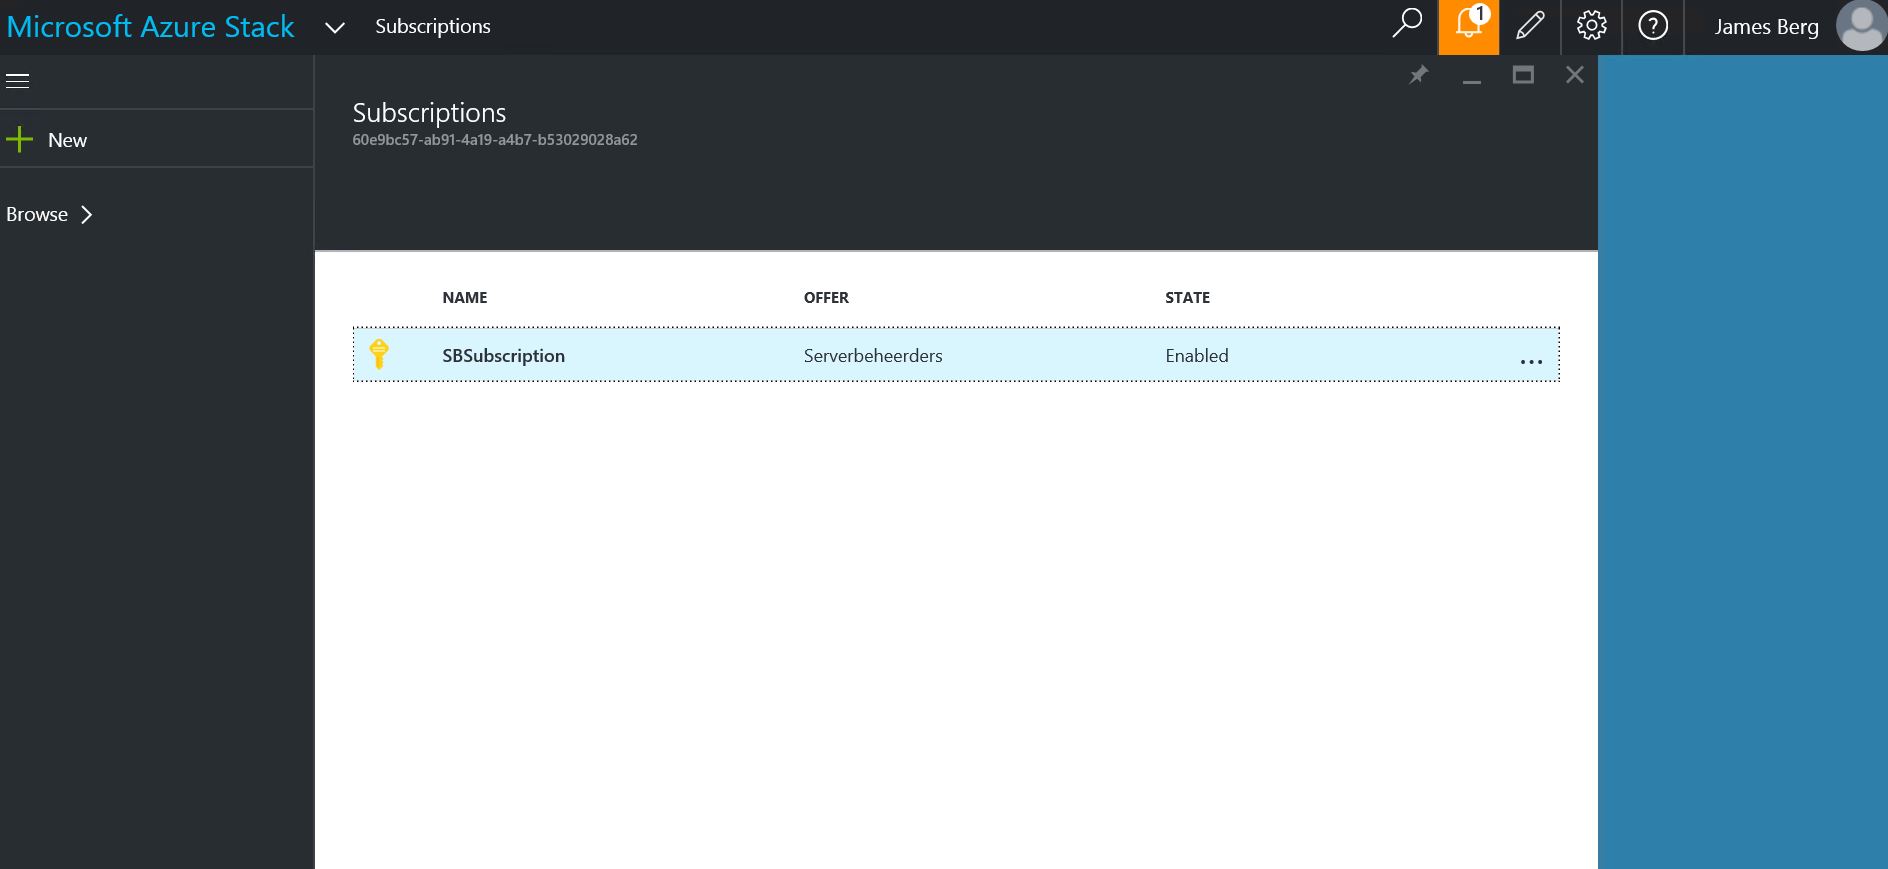
 The New Plan “Serverbeheer” is made.
Now you have an Azure Stack Plan, you can Create an Offer for the Tenant so they can get a Subscription.
In the following steps we Create an Offer in Microsoft Azure Stack: - Log in to the portal as a service administrator.
- Click New.
- Click Tenant Offers and Plans, then click Offer.


- Fill in Display Name and Resource Name. The Display Name is the offer’s friendly name. Only the admin can see the Resource Name. It’s the name that admins use to work with the offer as an Azure Resource Manager resource.
- Select a new or existing Resource Group.
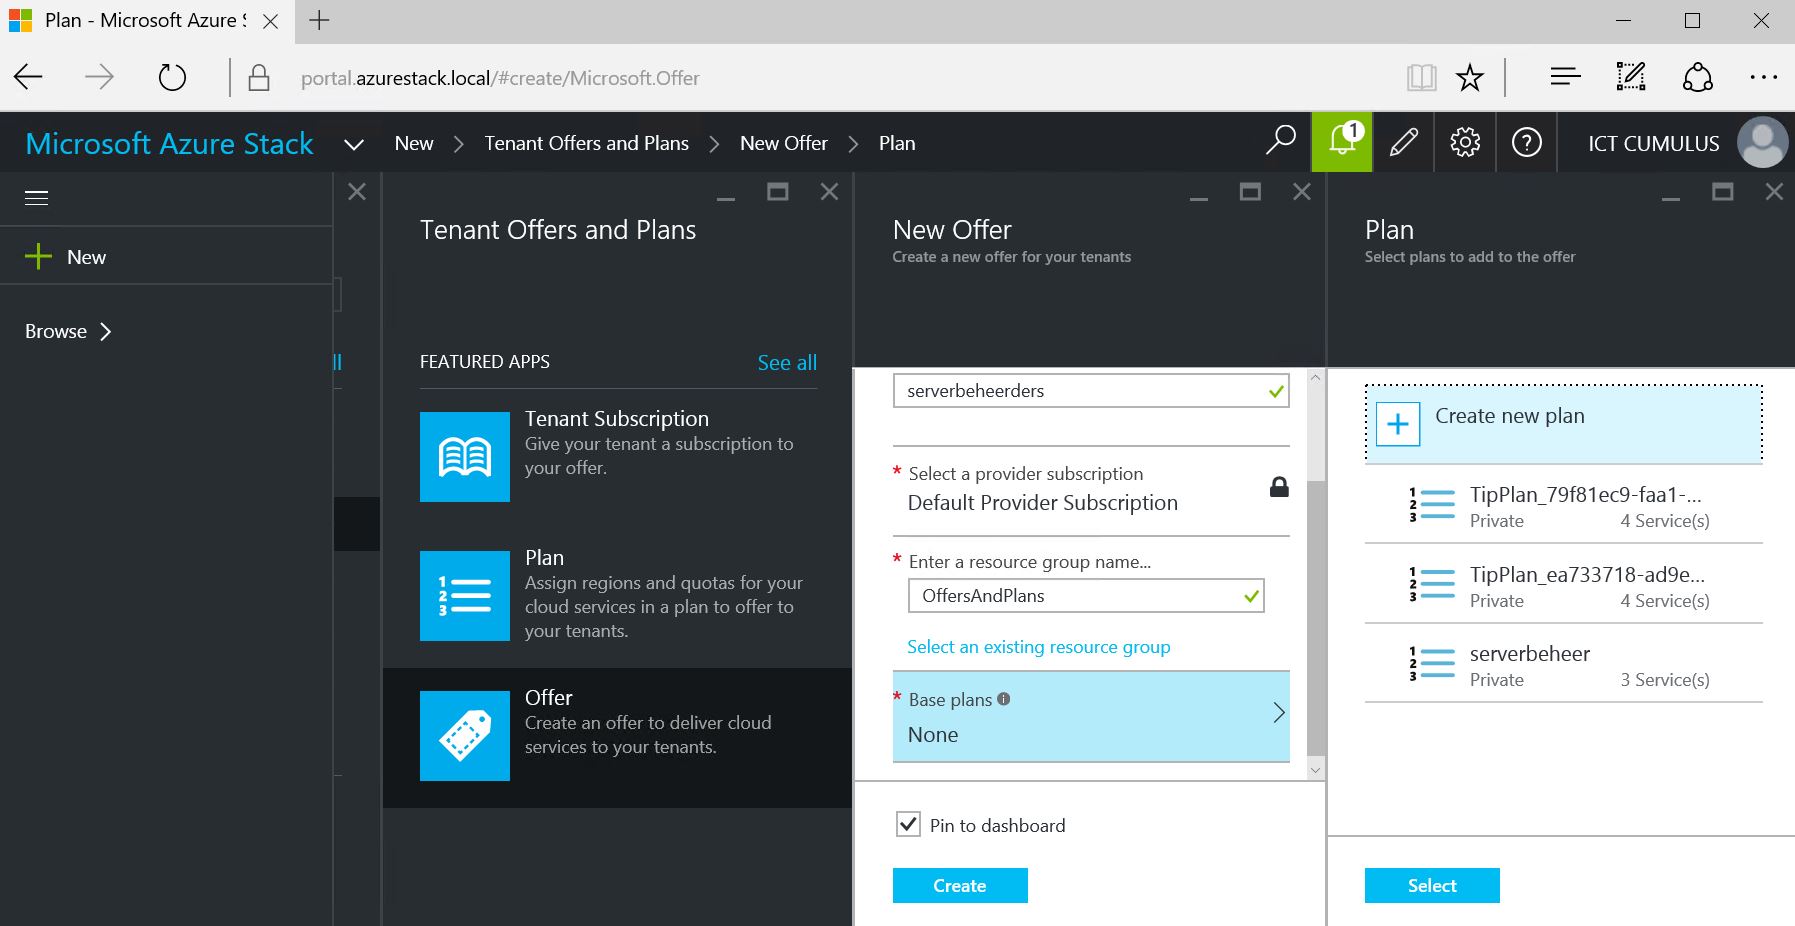

Select your plan and Click on Create.

- Click Change State, and then click Public. Plans and offers have to be made public for tenants to get the full view when subscribing. If a plan is private and the offer is public, tenants can get to the offer but won’t be able to see the details of the plan. Plans and offers can be:
- Public: Visible to tenants.
- Private: Only visible to the service administrators. Useful while drafting the plan or offer, or if the service administrator wants to approve every subscription.
- Decommissioned: Closed to new subscribers. The service administrator can use decommissioned to prevent future subscriptions, but leave current subscribers untouched.

Here you can Change the Status to Public

Your Microsoft Azure Stack Plan and Offer are now Created.
Changes to the plan or offer are not immediately visible to the tenant. To see the changes, the subscription state must be InSync, then the tenant must refresh the portal or login/logout.
Even after an additional subscription has been created and is InSync, you might have to logout/login to see the new subscription in the “Subscription picker” when creating new resources/resource groups.
Subscribe to your Azure Stack offer
First you need your Tenant Accounts from Microsoft Azure.
Create an Azure Stack Tenant Account Using the Azure Portal :
You must have an Azure subscription to use the Azure portal.
- Log in to Azure.
- In Microsoft Azure left navigation bar, click Active Directory.
- In the directory list, click the directory that you want to use for Azure Stack, or create a new one.
- On this directory page, click Users.
- Click Add user.
- In the Add user wizard, in the Type of user list, choose New user in your organization.
- In the User name box, type a name for the user.
- In the @ box, choose the appropriate entry.
- Click the next arrow.
- In the User profile page of the wizard, type a First name, Last name, and Display name.
- In the Role list, choose User.
- Click the next arrow.
- On the Get temporary password page, click Create.
- Copy the New password.
- Log in to Microsoft Azure with the new account. Change the password when prompted.
- Log in to
https://portal.azurestack.localwith the new account to see the tenant portal.

Click on Get a Subscription
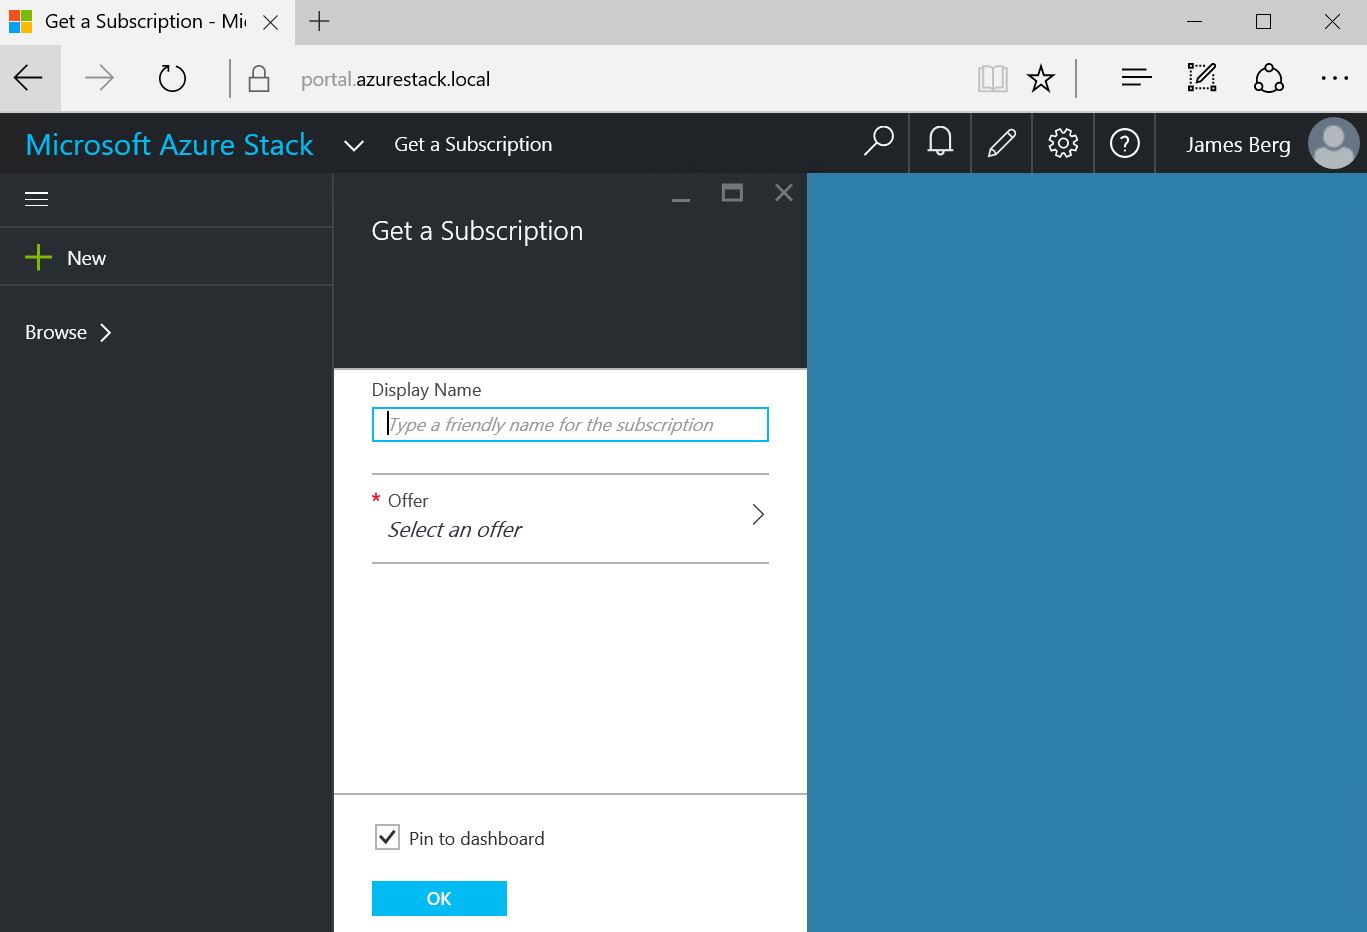
- In the Display Name field, type a name for your subscription.

- Click Offer and verify that the offer you created is in the Choose an offer Click that offer, click Select, and then click OK.


After you subscribe to an offer, wait until the subscription state is InSync. Then refresh the portal to see which services are part of the new subscription.
Now we are able to provision a Virtual Machine :
Click on Compute

Click on Windows Server 2012 R2 Datacenter

Give your server a Name and Login Account and Resource Group
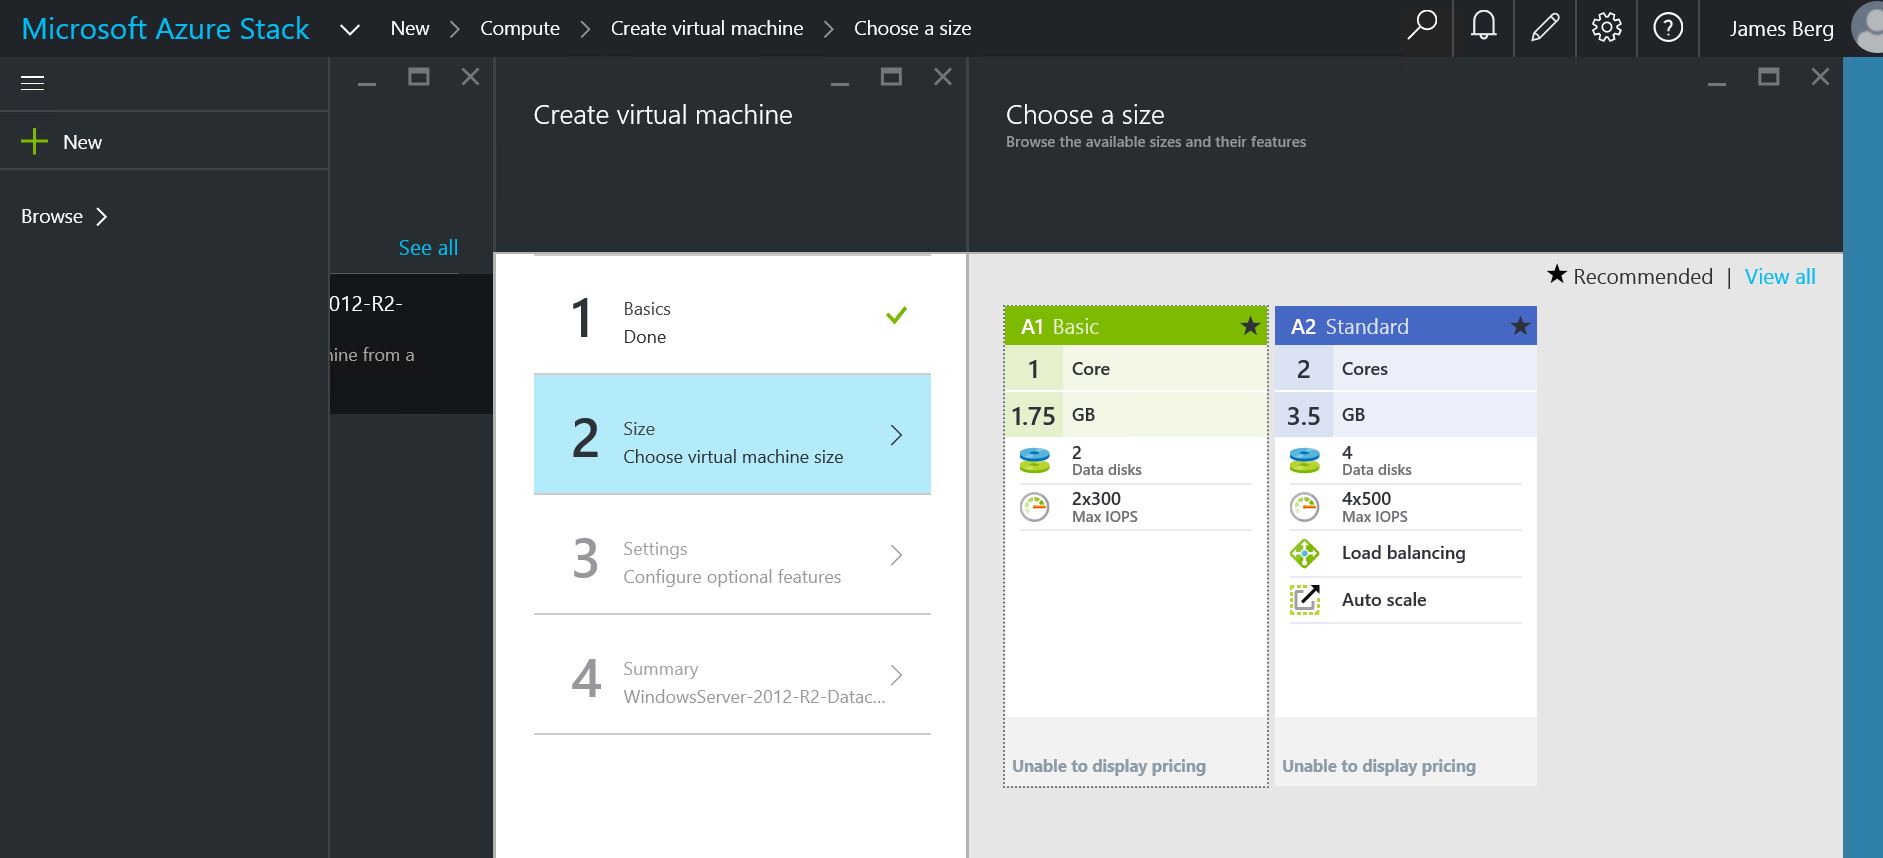
Select your size VM

Create your Storage account.
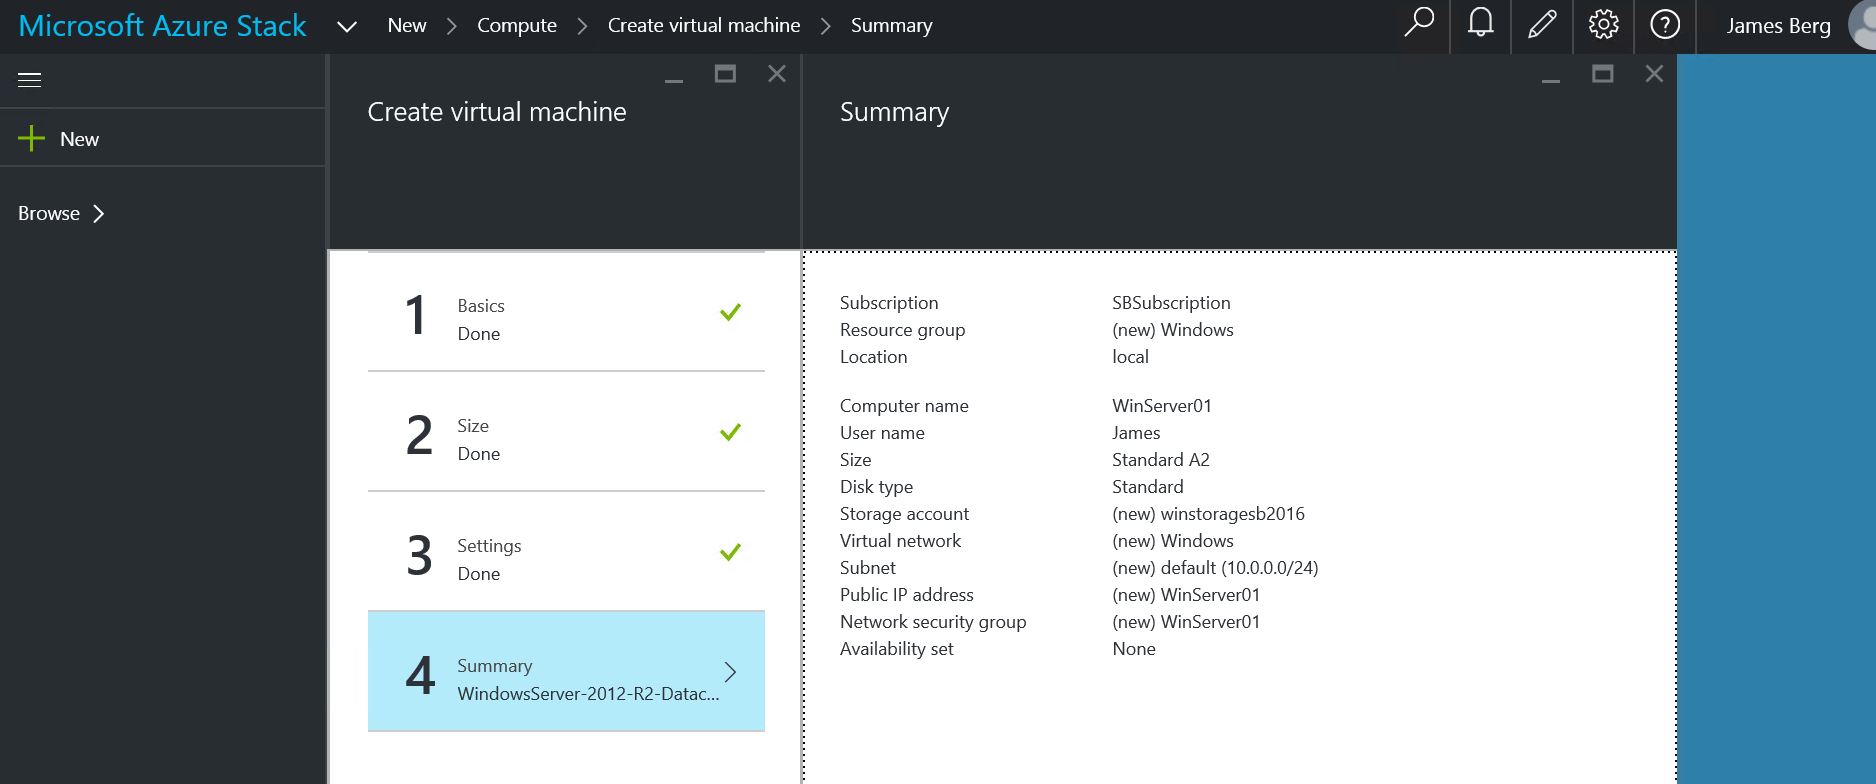

Your Virtual Server will be ready in 10 minutes on Microsoft Azure Stack
IN YOUR OWN DATACENTER 🙂

